Quick Start
Create a website in minutes with templates

Yel Legaspi
Last Update há 3 anos
Welcome! Below is a quick startup guide to getting your website up and running in minutes using our templates.
Before you begin
Before you start, it would be easier if you have some things prepared:
- The name of your website. For example, "Ned's Tasty Caterings".
- What type is your website? Is it personal or business?
- If you have a logo already, have it ready to be uploaded.
When you have these things ready, sign up or log in.
Note: This quick startup guide only works if you don't have a website setup. The following steps are triggered when it's your first time logging in to the application.
Going through the Setup Wizard
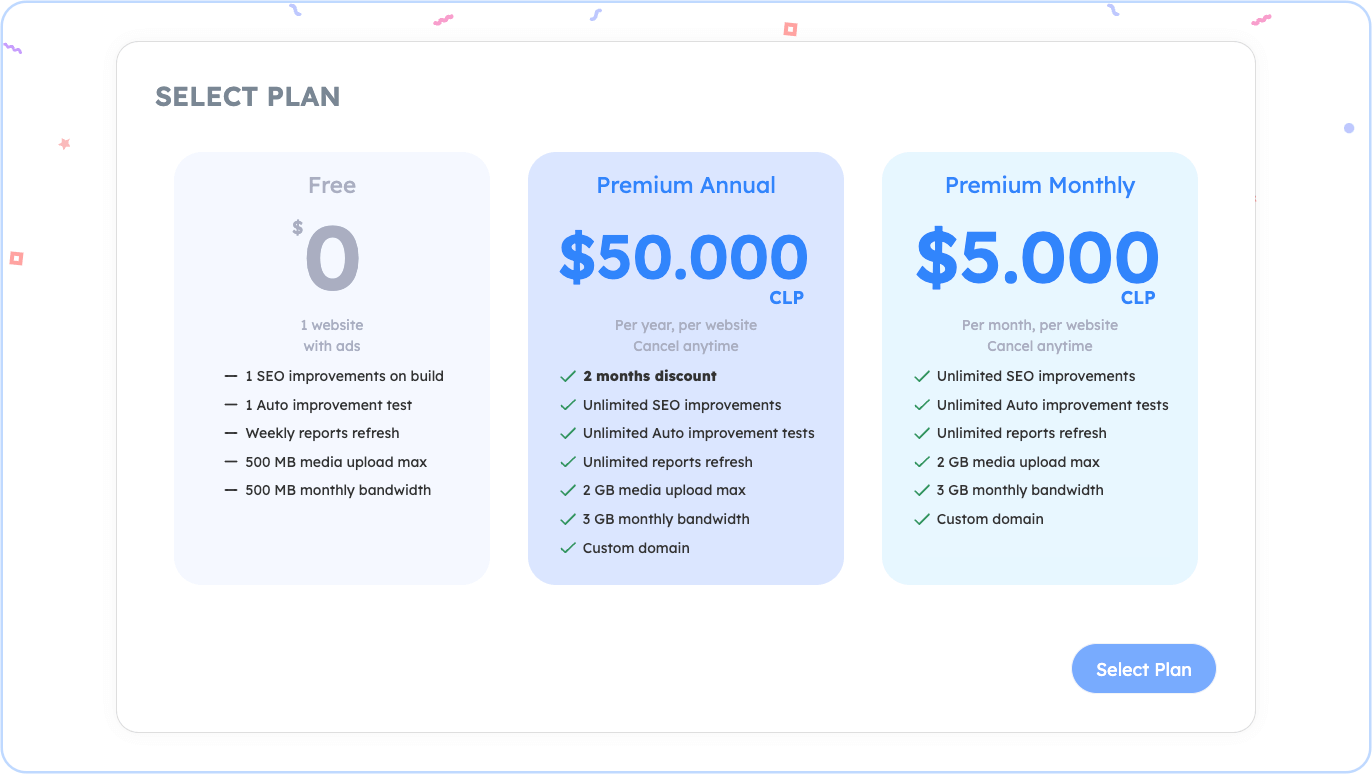
Select Plan: After signing up and logging in, the application will prompt you to choose your plan. If you choose any of our premium plans you will be prompted to continue with your payment details.
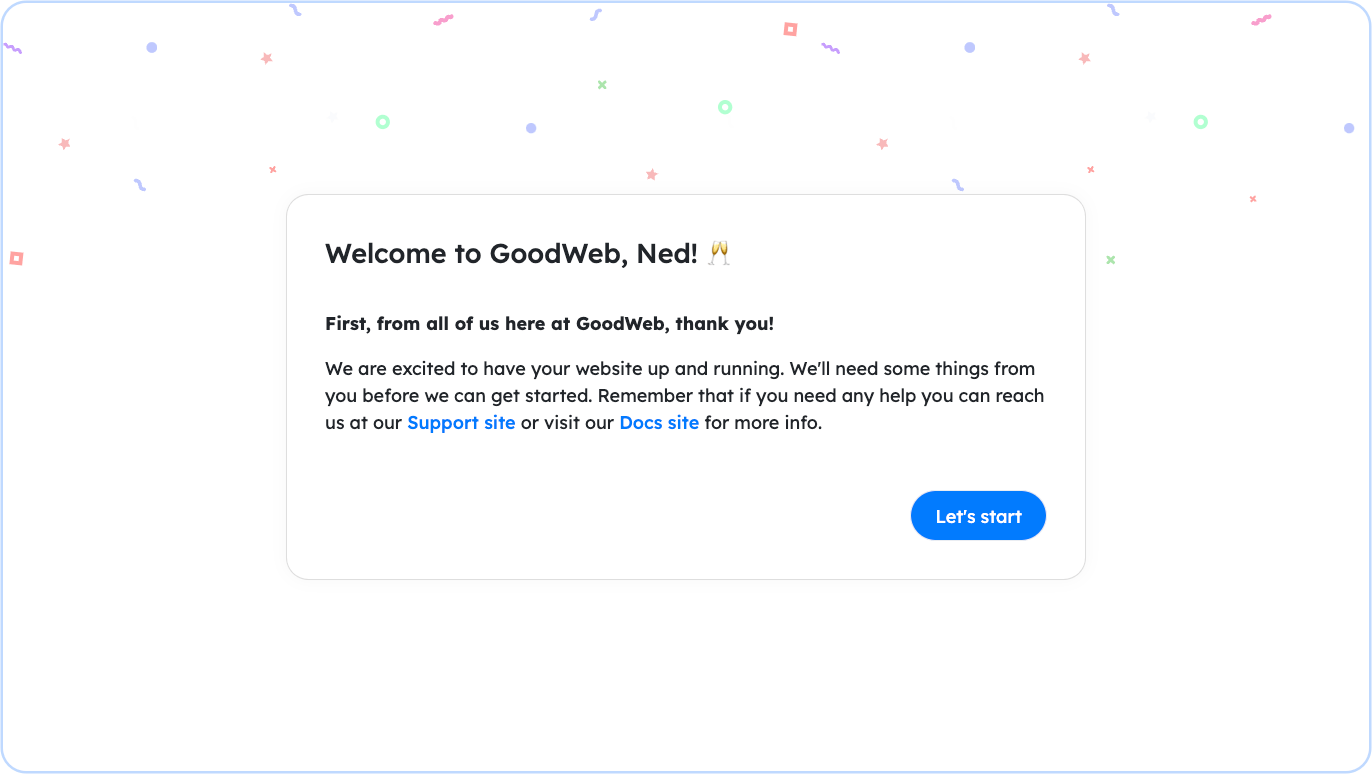
Next, you will be prompted with a welcome message. Click Let's Start.
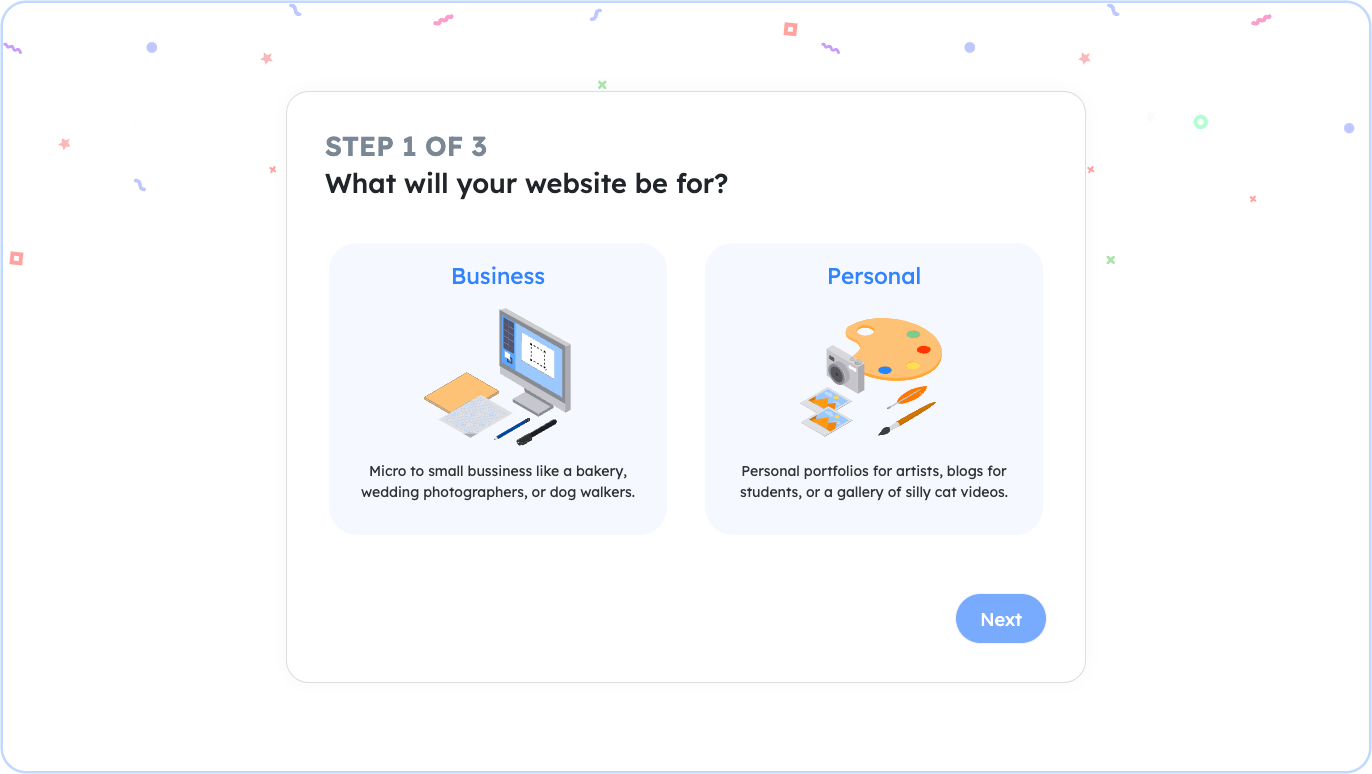
Choose what will your website be used for: either for business or personal. Click Next to continue after choosing.
Add the name of your website e.g. "Ned's Tasty Caterings". Click Next when ready. You can change this later on the Settings page.
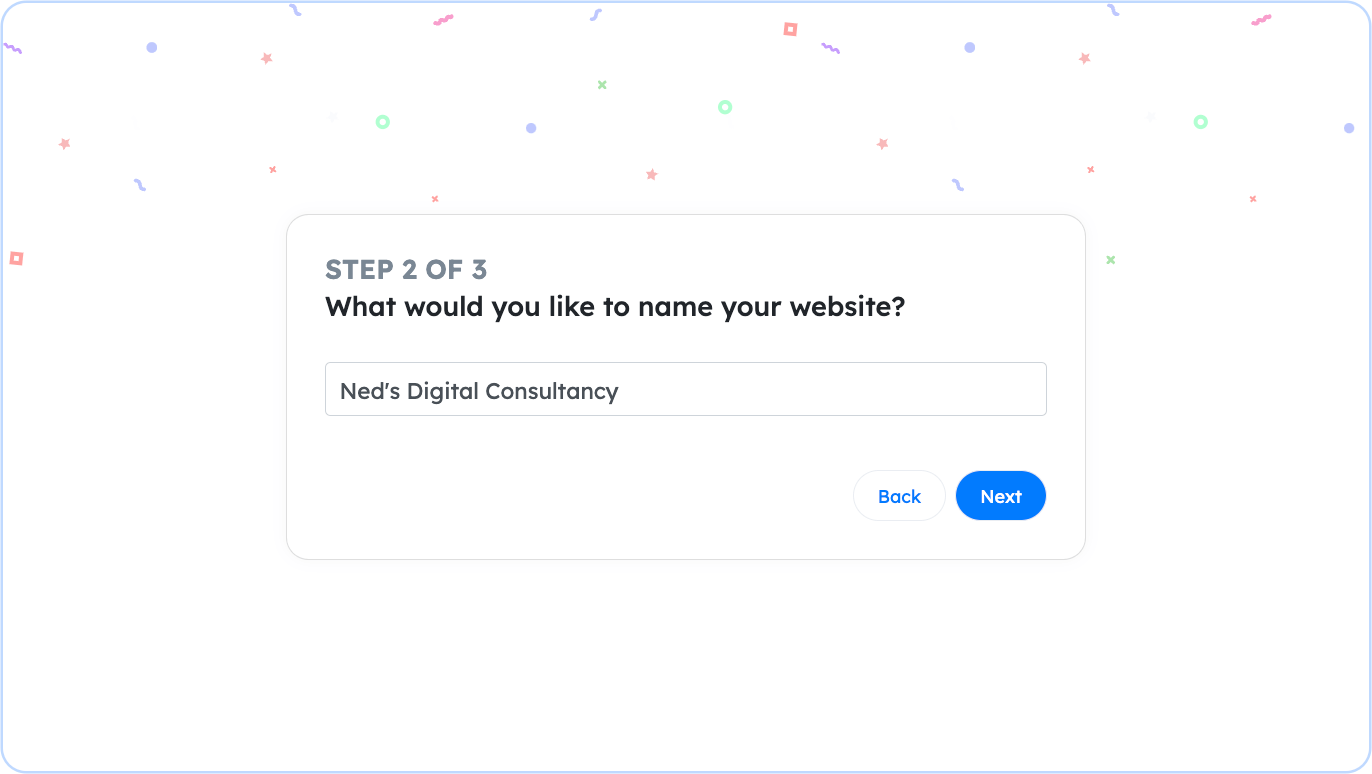
Note: By default, the name of your website is going to be used as your domain name. For example "Ned's Tasty Caterings" will be used and will become "nedstastycaterings.goodweb.app" as your domain name. You don't need to change your website name if you don't like your domain name. You can change your domain name later on the Website Settings page.
The next dialog is for your logo. If you have an existing logo, you can upload it in this step. If you don't have one, you can choose to create one using our Logo Creator. You can also choose to skip this step altogether and work on or upload your logo later. Depending on what you choose, click on Use Logo & Go to Admin if you chose to use a logo or I'll do this later. Take me to Admin if you chose to skip this step.
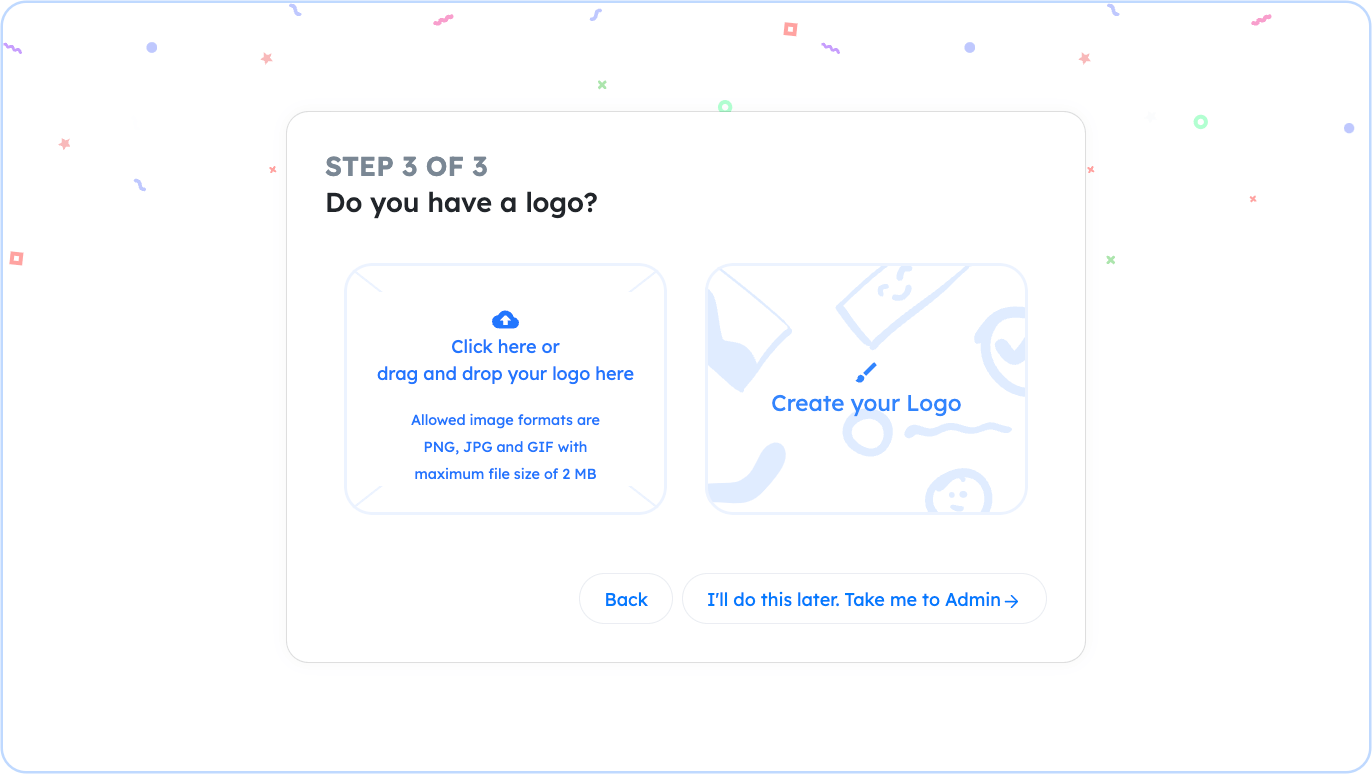
Note: If you chose to upload or create a logo you will be prompted with a dialog uploading your logo. Wait until this step finishes and you will be forwarded to the Admin screen automatically.
Once the initial setup for your account is done. You will be forwarded to the Admin Home page. You can browse and learn more about this page and other administration pages later through this documentation. Let's start building your website. Click on the Website Builder on the sidebar menu.

Using templates on the Website Builder Wizard
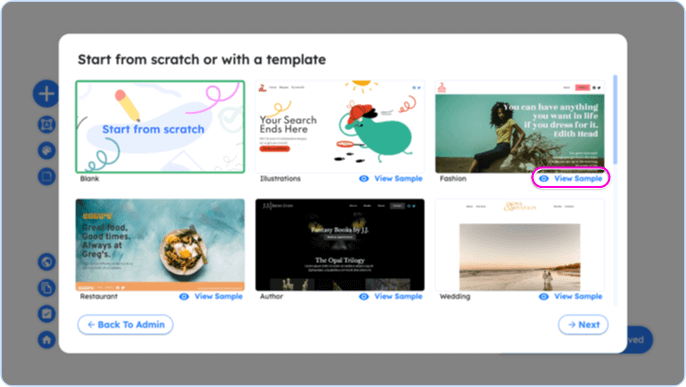
The Website Builder Wizard will be showing you several options to get you started. The first option is for you to build your website from scratch and the rest is for you to use one of our templates.
If you would want to see a template in action, click on the View Sample link that will open on a new browser window a website using that template. Once you have chosen a template, click Use Template. (We used the Catering template in this example)
The page where your website is loaded is the Website Builder or Builder in short. Here you can modify your designs and texts, add more elements to your page, navigate between different pages, and many more.
At this point, your website is not yet available to the public for you to share. To do this, you must publish your website by clicking the Publish button.

Making your website available to the public
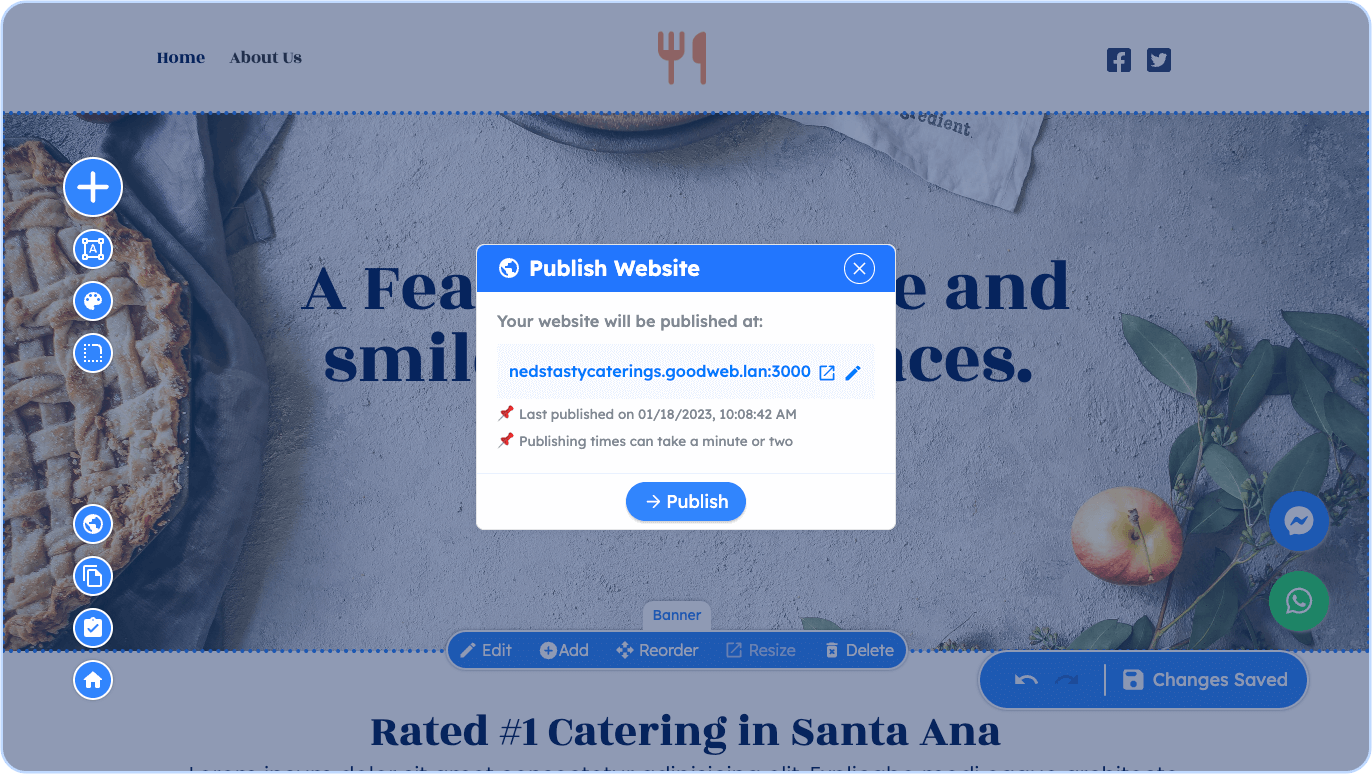
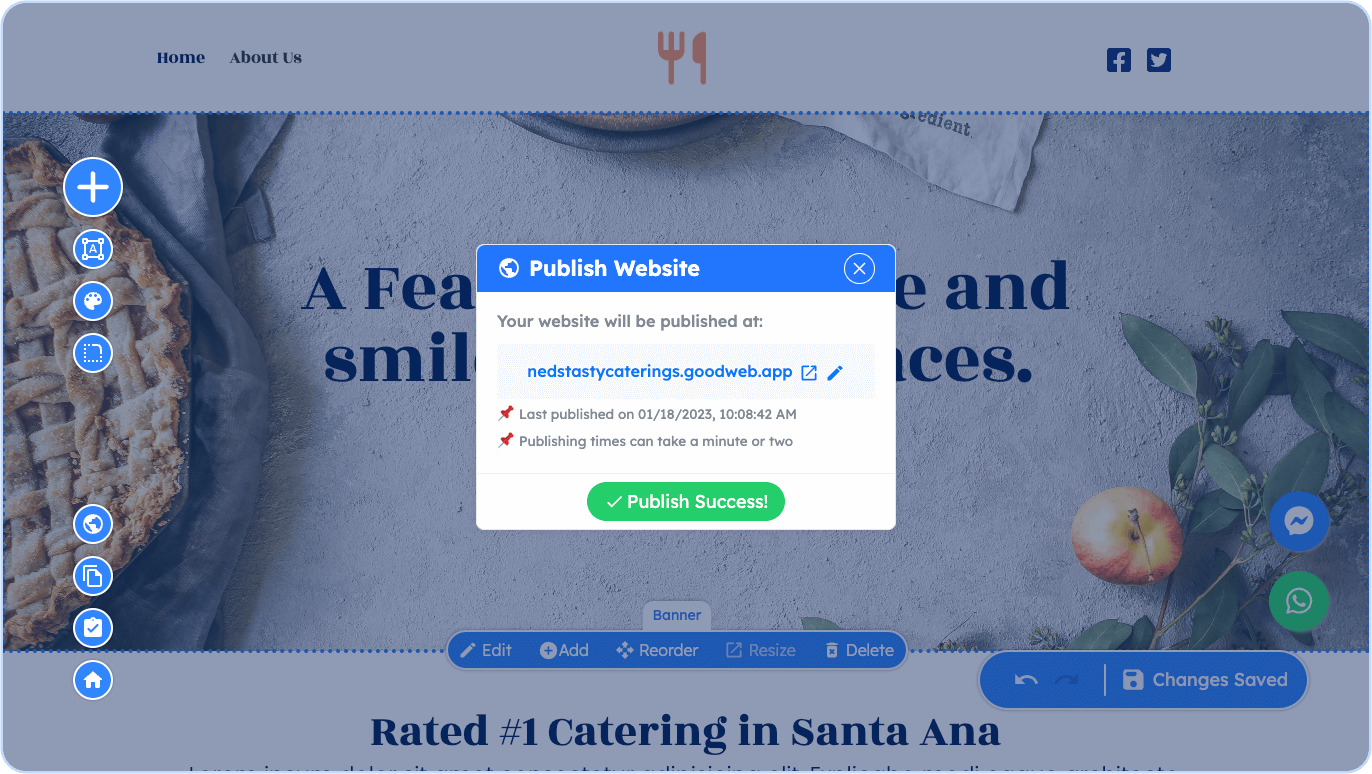
The Publish Website dialog will be shown with details of your website publishing details. Here you can modify your domain name and see when your website was last published. Click on the Publish button to make your website public.
Wait until the publishing process finishes...
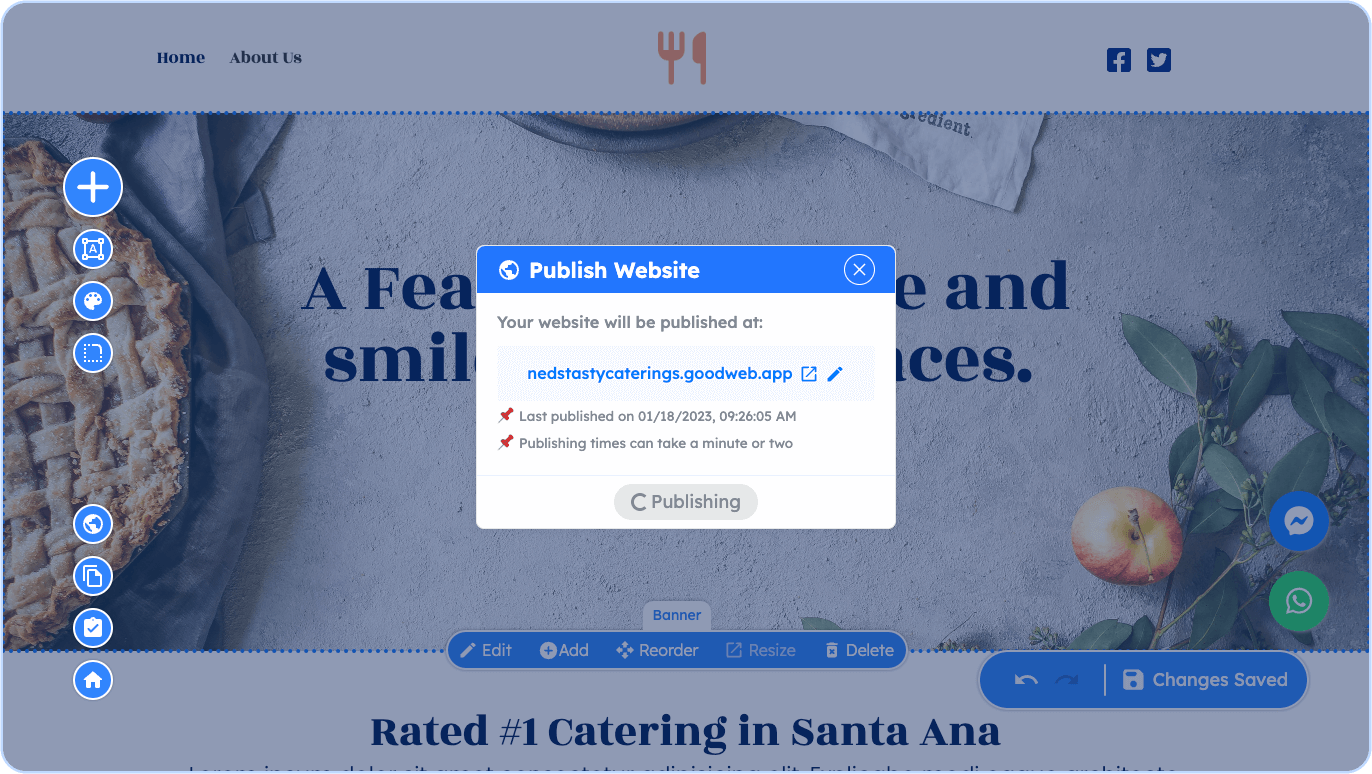
... Ta-da! Your smart website is now ready to be shared with the world! And it's mobile-ready to boot.
Note: If you change anything on your website, you have re-publish it for the changes to take effect for the public to see. Just follow the publishing process to do this every time you are ready to update your website to the public.