Configuring Automatic Testing on a Page
Enable and Disable Automatic Tests

Yel Legaspi
Last Update 3 ani în urmă
Viewing Testable Elements on a Page
To view all testable elements on a specific page, click on the Test icon button on the side floating menu.
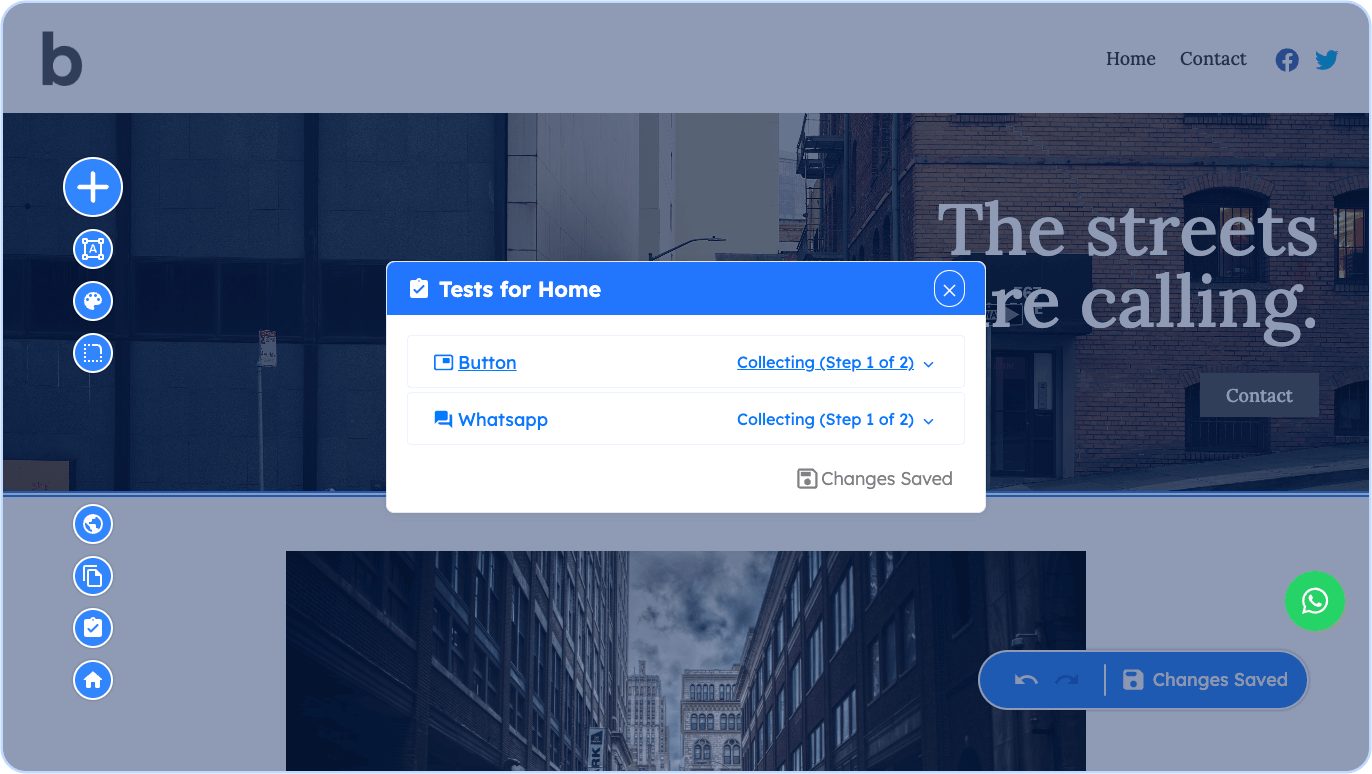
The Test Dialog displays all of the testable elements on the page you opened it. We currently offer three elements that are configured to be testable: The Contact button, the Whatsapp button, and the Messenger button. On the example below, the Contact button and the Whatsapp button were added on the page hence it is displayed on the dialog.
Configuring, activating, and deactivating Tests
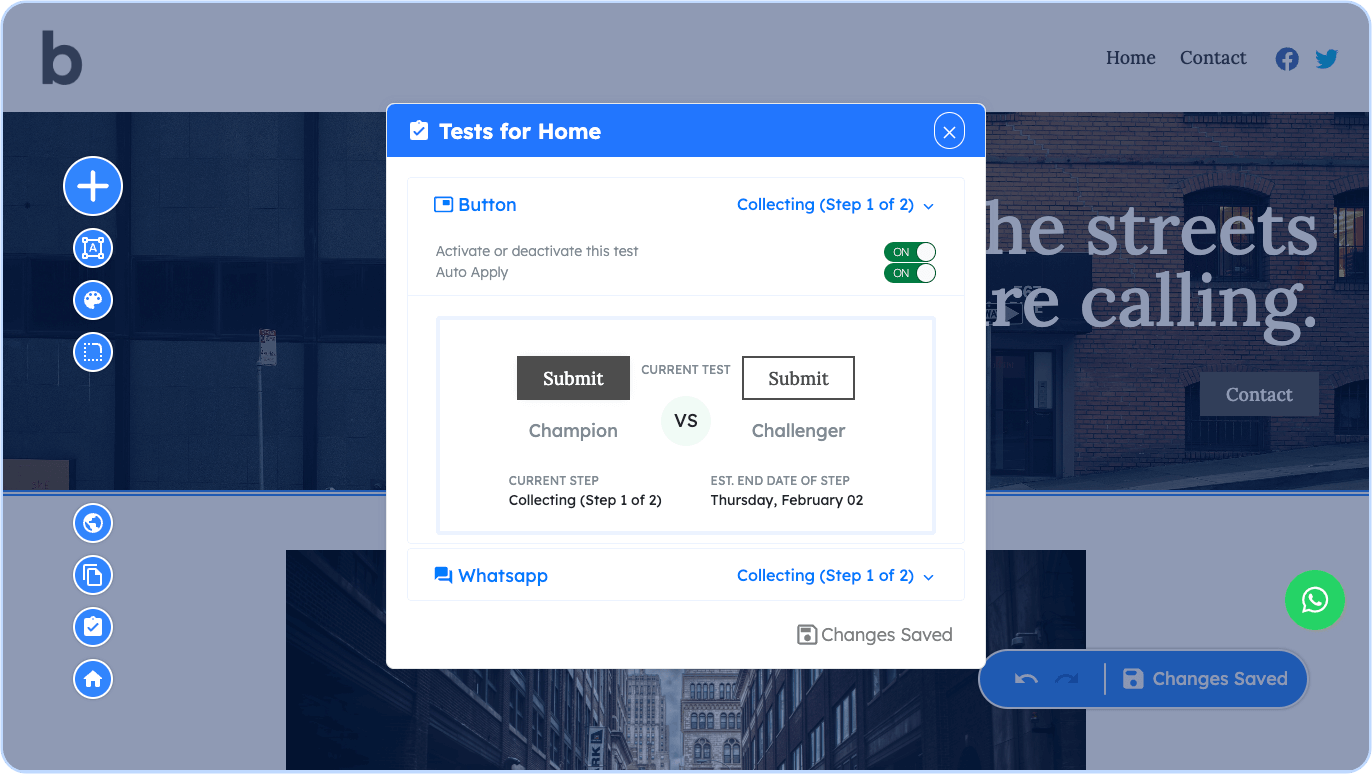
Automated tests for the testable elements have 2 settings: Activating/Deactivating and Auto-Apply.
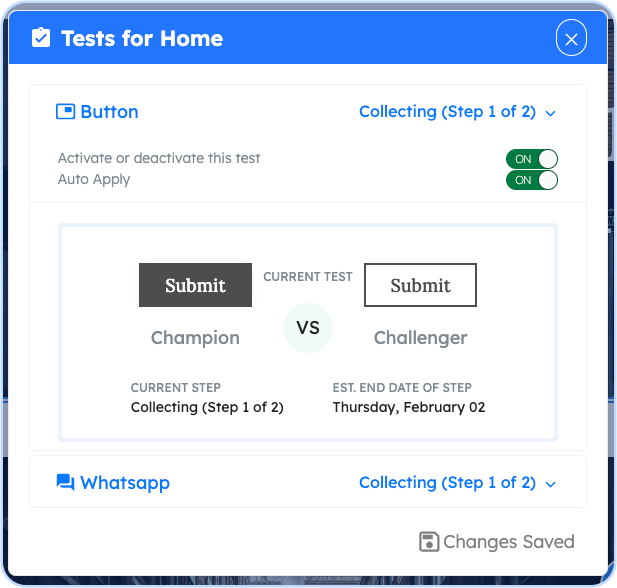
Activating and deactivating a test basically stops GoodWeb in testing the Champion and Challenger against each other to your visitors. If this setting is disabled, all your visitors will see the current Champion.
The Auto-Apply setting when turned on automatically does 3 main things for you:
- Crowns the winner of the automated testing between the Champion and the Challenger as the current Champion.
- Applies the current Champion's design as the base design for that page
- Creates a new challenger that will be tested against the current Champion
When the Auto-Apply is turned on, the system will do these steps over and over until all designs have been tested.